Solar Racking 101: Everything You Need to Know Before Installing PV Panels
14/08/2026
Share:
When most people think about going solar, they picture the panels themselves — those sleek blue surfaces soaking up sunlight and turning it into electricity. But here’s the truth: the panels are only half the story. Behind every reliable solar installation is a robust, well-engineered racking system that holds everything in place, maximizes energy output, and protects your roof for decades.
Whether you’re a homeowner considering a residential installation or a business owner evaluating a commercial array, understanding solar racking is essential. This guide walks you through everything you need to know — from the different types of systems available to the critical factors that determine which solution is right for you.
What Is Solar Racking, and Why Does It Matter?
Solar racking — also called solar mounting — is the structural framework that secures photovoltaic (PV) panels to your roof, the ground, or a tracking mechanism. It’s the unsung hero of any solar installation, and its importance cannot be overstated.
A quality racking system does more than just hold panels up. It:
Ensures structural integrity by distributing the weight of the panels evenly and withstanding wind, snow, and seismic loads.
Optimizes energy production by positioning panels at the ideal tilt angle and orientation relative to the sun.
Protects your roof through waterproof flashing and corrosion-resistant materials that prevent leaks and degradation.
Simplifies maintenance by providing accessible, modular mounting points for panel servicing and replacement.
Cutting corners on racking is one of the most expensive mistakes you can make in a solar project. A cheap system may fail in a storm, cause roof leaks, or require premature replacement — all of which erase any upfront savings.
Types of Solar Racking Systems
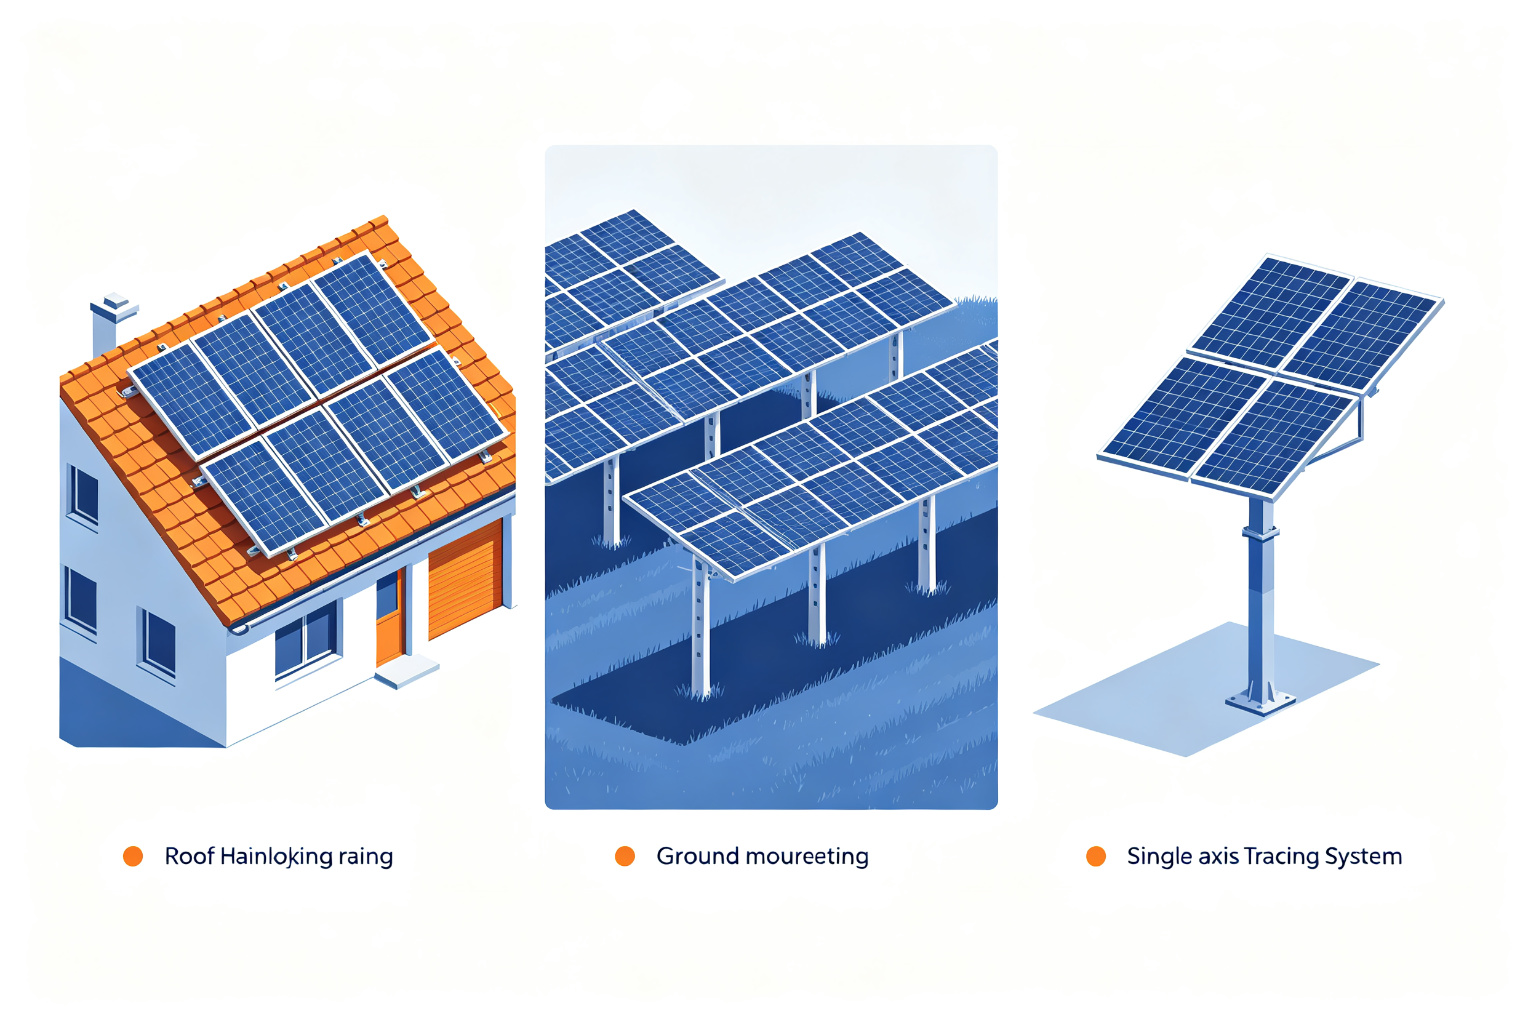
Not all solar racking is created equal. The right system depends on your property type, available space, budget, and energy goals. Here are the three primary categories:
1. Roof-Mounted Racking
The most common choice for residential and many commercial installations, roof-mounted systems attach directly to your existing roof structure.
Composition shingle roofs: Use L-foot or standoff mounts that penetrate the roof and anchor to rafters, with flashing to seal each penetration.
Metal roofs: Often use clamp-style mounts that grip the roof seams — no penetration required, making installation faster and leak risk minimal.
Tile roofs: Require specialized hook mounts that fit under tiles, preserving the roof’s aesthetic and waterproofing.
Pros: No additional land needed; panels are elevated and out of the way; generally the most cost-effective option.
Cons: Limited by roof orientation and available space; roof penetrations carry a small leak risk; future roof replacement means removing and reinstalling the array.
2. Ground-Mounted Racking
If you have ample yard or land space, ground-mounted systems offer unmatched flexibility. Panels sit on aluminum or galvanized steel frames supported by concrete footings or driven piles.
Pros: Optimal tilt and orientation regardless of roof geometry; easier access for cleaning and maintenance; scalable to large arrays.
Cons: Requires usable land; higher material and labor costs; may need fencing or landscaping to protect the array.
3. Pole-Mounted & Tracking Systems
For maximum energy yield, pole-mounted systems elevate panels on a single pole, and some include single-axis or dual-axis trackers that follow the sun throughout the day.
Single-axis trackers rotate panels east to west, boosting production by roughly 20–25% compared to fixed-tilt systems.
Dual-axis trackers add seasonal tilt adjustment, capturing even more energy but at a higher cost and with more moving parts to maintain.
Pros: Highest energy output per panel; ideal for high-latitude or open-land installations.
Cons: Significantly more expensive; mechanical components require ongoing maintenance; less common in residential settings.
Key Components of a Solar Racking System
Understanding the parts helps you evaluate quotes and ask the right questions of your installer.
Component
Role
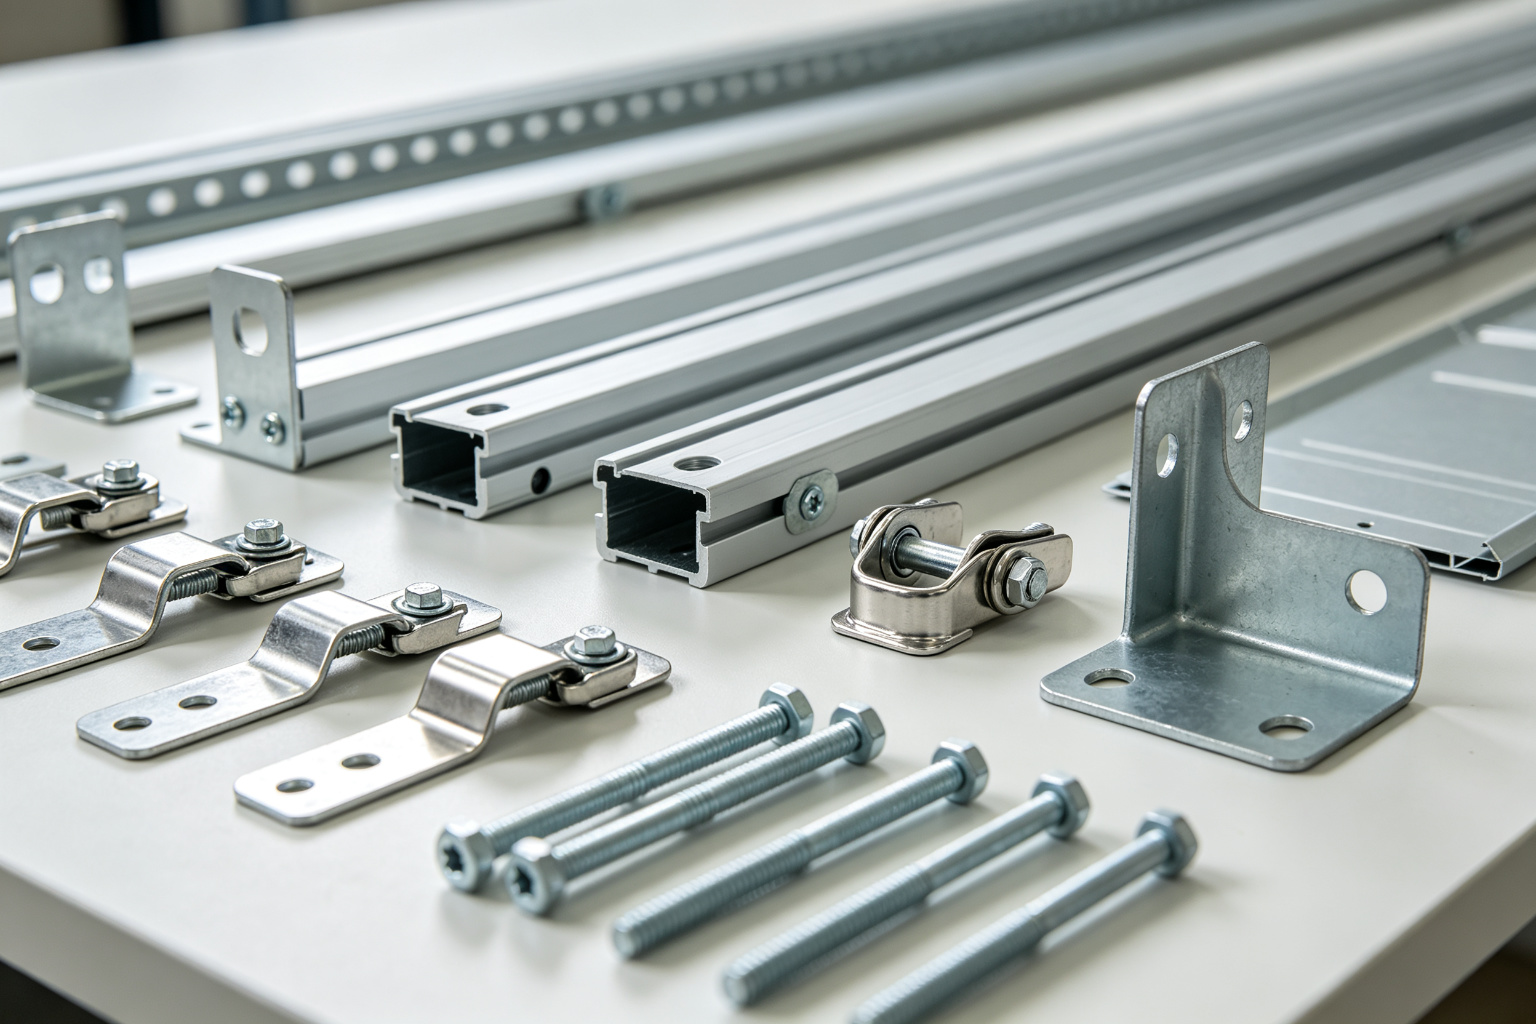
Mounting Rails
Long aluminum channels that run across the roof or ground frame; panels attach to these. Available in various profiles and lengths.
Mid Clamps
Secure the inner edge between two adjacent panels, holding them firmly to the rail.
End Clamps
Fasten the outer edge of the first and last panels in a row to the rail.
Roof Mounts / L-Feet
The anchor points that connect rails to the roof structure (for roof-mounted systems).
Flashing
Metal or composite plates installed under roof shingles or tiles around each penetration to prevent water intrusion.
Grounding Lugs
Provide a path for electrical grounding, essential for system safety and code compliance.
Module-Level Electronics
Microinverters or power optimizers that mount under each panel, often attaching directly to the racking rails.
Most modern racking systems use anodized aluminum for rails and stainless steel for fasteners — both materials offer excellent corrosion resistance and long service life, typically backed by 10–25 year warranties.
Critical Factors to Consider Before Installation
Roof Condition and Age
If your roof is nearing the end of its life (15+ years old for asphalt shingles), replace it before installing solar. Removing and reinstalling a solar array later can cost $1,500–$3,000 or more, eating into your energy savings.
Orientation and Tilt
In the Northern Hemisphere, panels should face true south (not magnetic south) for maximum annual production.
The ideal tilt angle is roughly equal to your latitude, though many installers optimize for summer or winter production based on your utility rate structure.
East- or west-facing roofs still work well — expect roughly 10–15% less production compared to south-facing.
Wind and Snow Load
Your racking system must be engineered to meet local building codes for:
Wind uplift: Critical in hurricane-prone or high-wind regions; may require additional fasteners or reinforced mounts.
Snow load: In snowy climates, steeper tilts and stronger rail profiles prevent panel damage from accumulated snow weight.
Always verify that your installer provides engineered stamped drawings for the racking design — this is often required for permitting and ensures the system meets local structural codes.
Roof Material Compatibility
Different roof types require different mounting approaches:
Asphalt shingle: Standard L-foot with flashing — most common and straightforward.
Standing seam metal: Seam clamps — no penetration, fastest install.
Corrugated metal: May require rail brackets or direct attachment with sealing washers.
Concrete / clay tile: Tile hooks or replacement tiles — more labor-intensive.
Flat roof (TPO / EPDM): Ballasted or weighted systems, or penetrating mounts with specialized flashing.
Aesthetic Preferences
If curb appeal matters, consider:
All-black mounting systems that blend with black-frame panels for a sleek, uniform look.
Rail-less mounting (module-level clamps) for a cleaner, lower-profile appearance.
Custom color matching for rails and clamps to match your roof or trim.
The Installation Process: What to Expect
A typical residential solar racking and panel installation follows these steps:
Site assessment & engineering — Your installer evaluates the roof structure, takes measurements, and designs the array layout. Engineered drawings are prepared for permitting.
Permitting — Local building and electrical permits are submitted and approved. This can take 2–8 weeks depending on your jurisdiction.
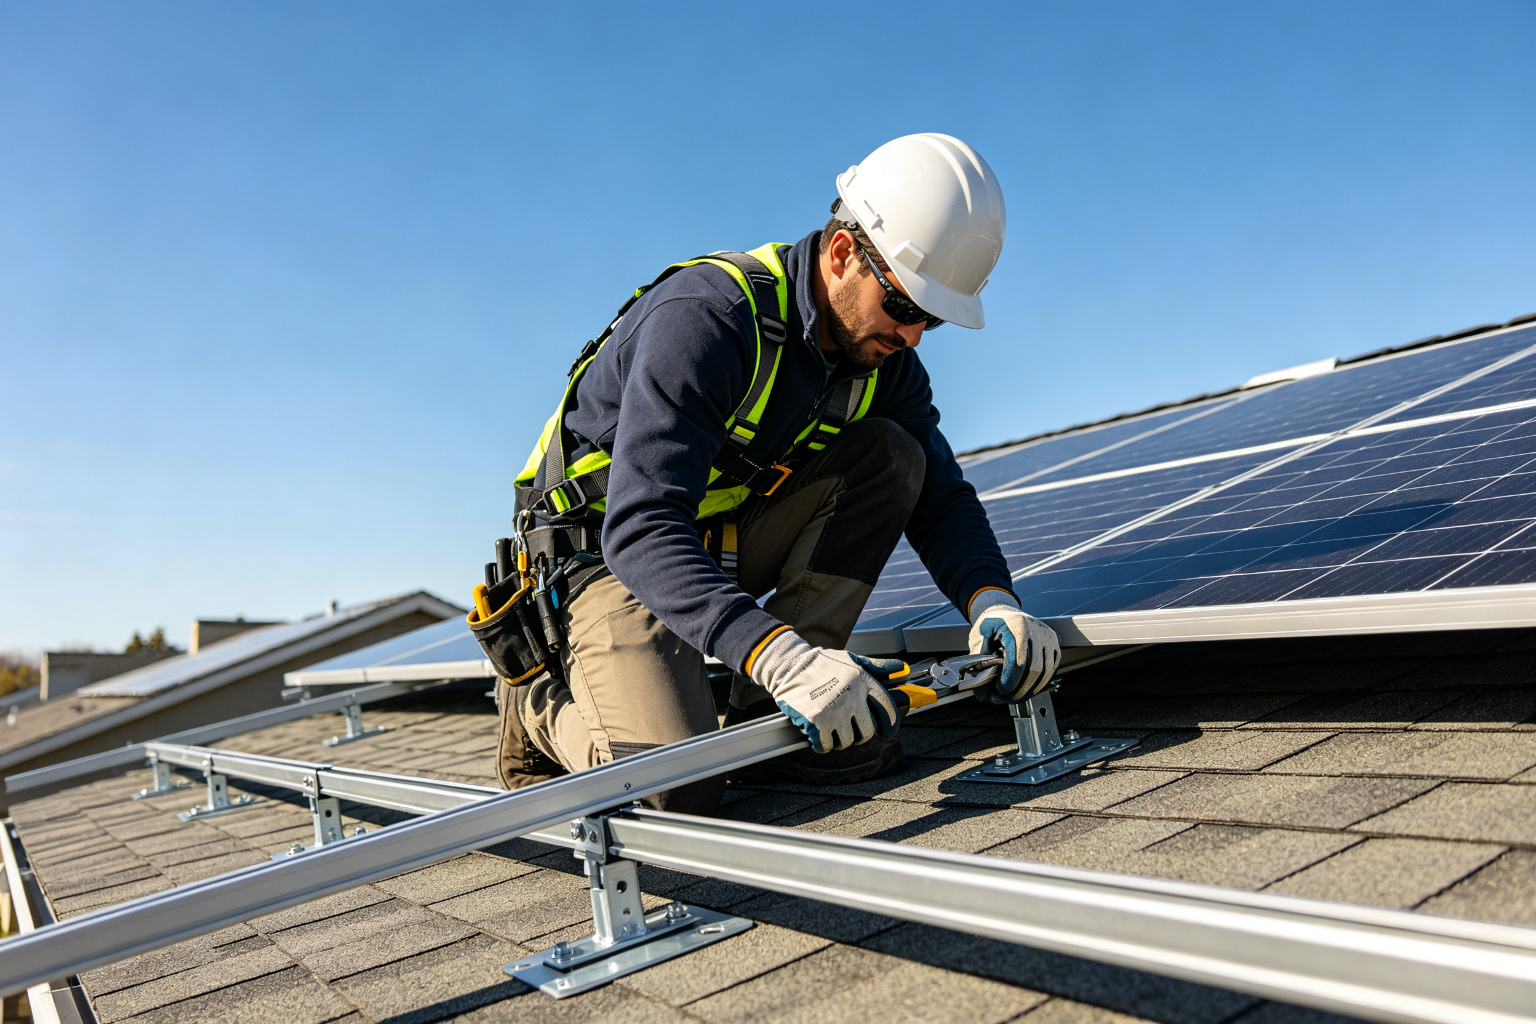
Roof preparation — The installation team locates rafters, marks mount positions, and installs flashing at each penetration point.
Mount & rail installation — Roof mounts are secured to rafters, and rails are attached and leveled across the mounts.
Electrical prep — Grounding is established, and microinverters or optimizers are mounted to the rails if using module-level electronics.
Panel installation — Panels are placed on the rails and secured with mid and end clamps. Wiring is connected.
Inspection & interconnection — A building inspector verifies the installation, and your utility approves grid interconnection. The system is then activated.
The physical racking and panel installation typically takes 1–3 days for a residential system, though the full timeline from contract to activation is often 2–4 months due to permitting and utility processes.
Maintenance and Long-Term Care
A well-installed racking system requires minimal maintenance, but a few simple steps will extend its life:
Inspect annually — Check for loose clamps, corrosion, or shifted panels, especially after severe weather.
Keep panels clean — Dust, pollen, and bird droppings reduce output. A yearly rinse with a hose is usually sufficient.
Trim overhanging branches — Falling branches can damage panels and racking, and shade significantly reduces production.
Monitor production — Most systems include monitoring apps. A sudden drop in output may indicate a loose connection or damaged component.
Re-torque fasteners — Every 5–10 years, have a professional check and re-torque mounting bolts to maintain structural integrity.
Common Mistakes to Avoid
Choosing the cheapest racking — Off-brand or uncertified mounting systems may not meet wind/snow load codes and can fail prematurely.
Ignoring roof age — Installing solar on a roof that needs replacement is a costly mistake.
Skipping engineered drawings — Without proper engineering, your system may not pass inspection or may be structurally inadequate.
Poor wire management — Exposed, unclipped wiring can degrade from UV exposure and create safety hazards.
Incorrect tilt for your climate — A tilt optimized for one region may be suboptimal in another. Always work with a local expert.
Final Thoughts
Solar racking is the foundation of every successful PV installation. While panels and inverters tend to get all the attention, the mounting system determines whether your array survives the next 25 years, produces optimal energy, and protects your most valuable asset — your home or building.
Before signing any solar contract, ask your installer specifically about:
The racking brand and warranty
Whether engineered stamped drawings are included
The roof penetration and flashing method
Wind and snow load certification for your area
The installer’s experience with your specific roof type
Investing in a quality racking system from a reputable manufacturer, installed by experienced professionals, is the single best way to ensure your solar investment pays off for decades to come.