Choosing solar panels and inverters gets most of the attention when planning a solar installation — but the mounting system is what holds everything together, literally. A poorly chosen racking system can lead to roof leaks, structural damage, reduced energy output, and costly repairs down the line. The right one, on the other hand, ensures your array performs optimally and lasts for decades with minimal maintenance.
Whether you’re a homeowner going solar for the first time or a business owner evaluating a commercial installation, understanding the key factors that go into selecting a mounting system is essential. This guide walks you through the ten most critical considerations, helping you make an informed decision that protects your investment and maximizes your returns.
Roof Type and Material Compatibility
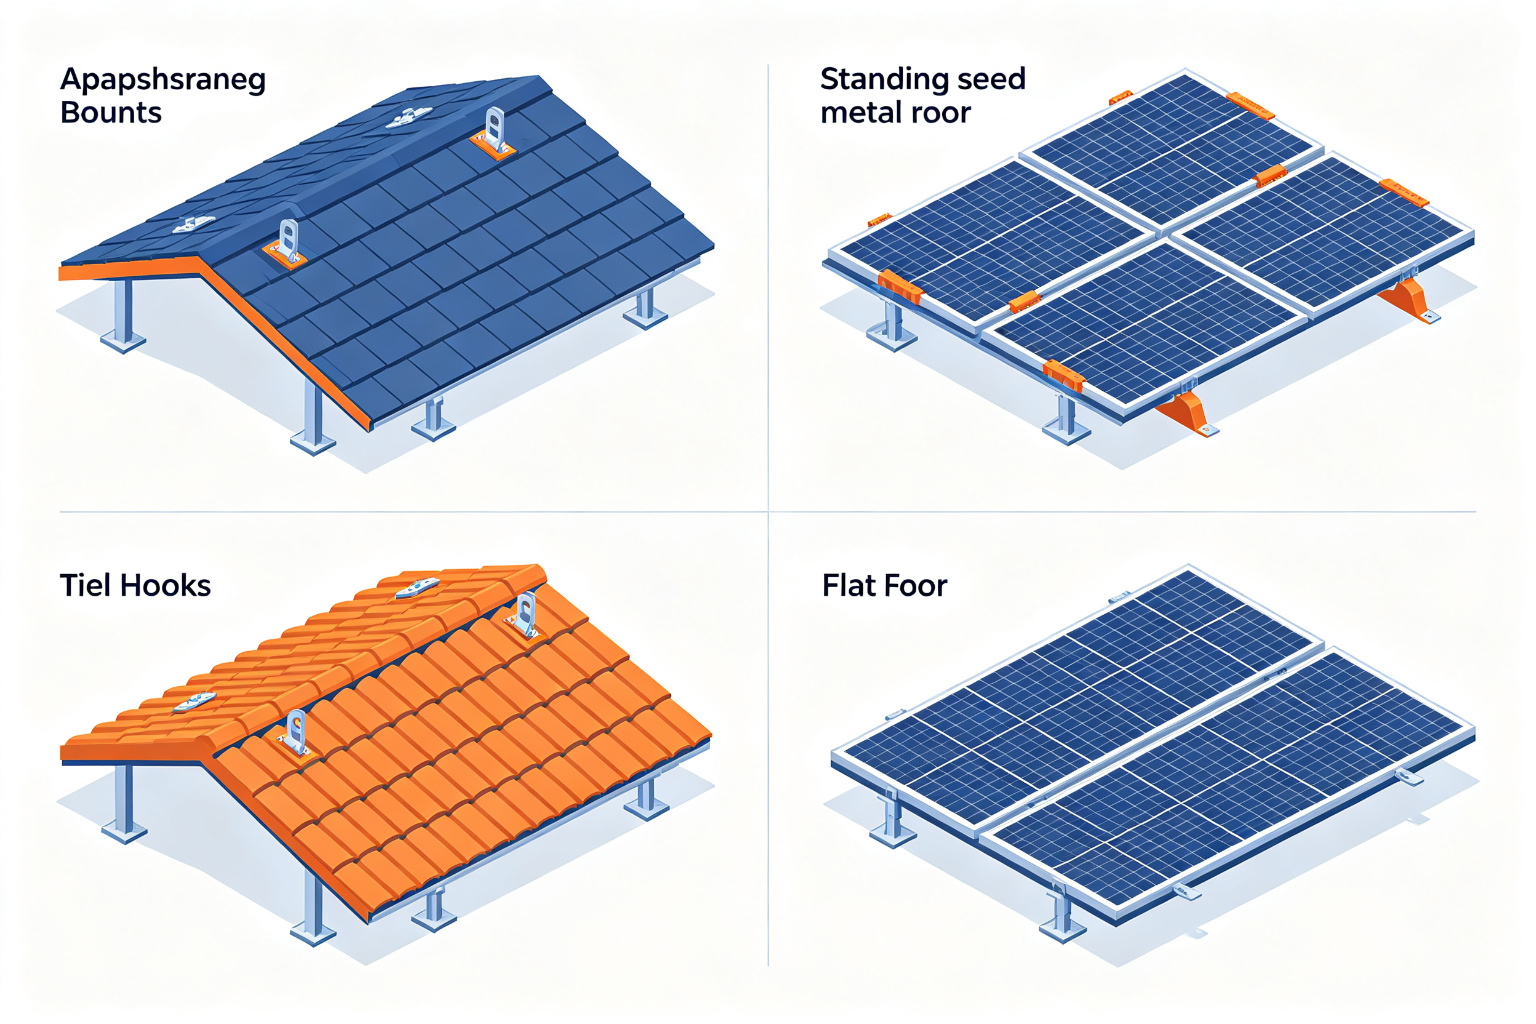
Not every mounting system works on every roof. The type of roof you have determines which mounting methods are feasible, how much installation will cost, and what level of waterproofing is required.
| Roof Type | Recommended Mounting Method | Key Considerations |
|---|---|---|
| Asphalt shingle | L-foot / standoff mounts with flashing | Most common and straightforward; penetrations require proper flashing |
| Standing seam metal | Seam clamps (non-penetrating) | Fastest install; no roof penetration; ideal for metal roofs |
| Corrugated metal | Rail brackets or direct attach with sealing washers | May require custom brackets; ensure proper sealing at penetrations |
| Concrete / clay tile | Tile hooks or replacement tiles | More labor-intensive; requires careful tile removal and replacement |
| Flat roof (TPO/EPDM) | Ballasted (weighted) or penetrating mounts | Ballasted avoids penetrations but adds weight; penetrating needs specialized flashing |
| Wood shake / slate | Specialty mounts or non-penetrating options | Fragile roof materials; higher installation cost; may need roof replacement first |
Action tip: Before requesting quotes, identify your exact roof material and age. Some installers specialize in certain roof types, and matching the right installer to your roof can save both time and money.
Your roof — and the mounting system itself — must support the combined weight of panels, racking, snow, and wind forces. This is non-negotiable from both a safety and code-compliance standpoint.
A typical residential solar array adds 3–5 pounds per square foot of dead load. Most modern roofs are engineered to handle 20+ pounds per square foot, so this is rarely a problem for newer homes. However, older roofs, those with structural modifications, or buildings with marginal load capacity may require engineering evaluation — and in some cases, reinforcement.
Wind creates both downward pressure and uplift forces on solar arrays. In hurricane-prone regions (e.g., Florida, Gulf Coast), systems must be engineered to withstand 130–180 mph wind gusts. This often means:
In snowy climates, accumulated snow on panels can add significant weight. Regions like the Northeast, Mountain West, and parts of the Midwest may require systems rated for 20–50 pounds per square foot of snow load. Steeper tilt angles help snow slide off, reducing the effective load.
In earthquake-prone areas (California, Pacific Northwest), racking systems must be designed to withstand lateral movement. This is typically addressed through flexible connections and proper attachment to the building structure.
Action tip: Always require engineered stamped drawings for your racking design. This ensures the system meets local building codes and provides documentation for insurance and resale purposes.
The position of your panels directly determines how much sunlight they capture — and therefore how much electricity they produce.
The ideal tilt angle is generally equal to your latitude for maximum annual production. However:
Even partial shading from chimneys, trees, or adjacent buildings can significantly reduce output. A proper mounting design should account for shading throughout the day and across seasons, potentially using microinverters or power optimizers to mitigate shading losses.
Action tip: Ask your installer for a shading analysis and production estimate specific to your roof orientation and tilt. Avoid installers who use generic estimates without a site-specific assessment.
4.Material Selection: Aluminum vs. Steel
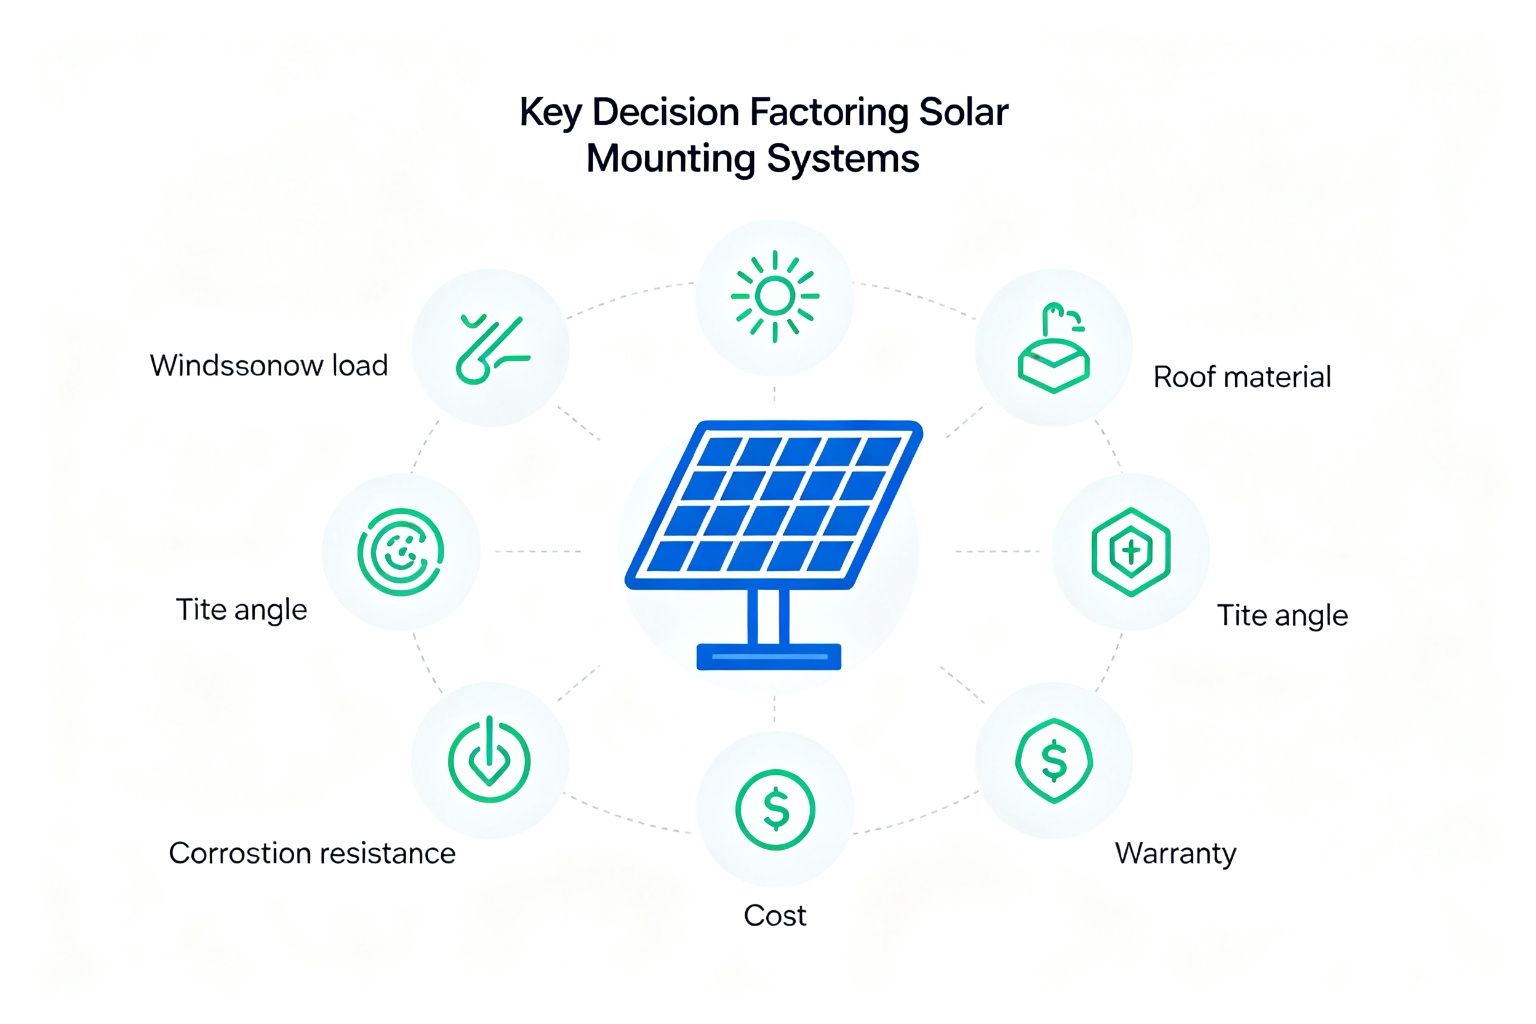
The material of your mounting rails and brackets affects weight, strength, corrosion resistance, and cost. We covered this in depth in our previous article, but here’s the quick summary:
Aluminum (anodized 6005-T5 / 6063-T6):
Steel (hot-dip galvanized):
For most residential rooftop installations, aluminum is the preferred choice due to its light weight, corrosion resistance, and ease of installation. Steel shines in ground-mount and large commercial applications where maximum strength and lowest material cost are priorities.
Action tip: Don’t just ask “aluminum or steel?” — ask for the specific alloy grade and anodizing thickness (for aluminum) or galvanizing specification (for steel). Quality varies significantly between manufacturers.
Your mounting system will be exposed to the elements 24/7 for 25+ years. How well it resists corrosion depends on both the material/coating and your local environment.
| Environment | Corrosion Risk | Recommended Solution |
|---|---|---|
| Inland, dry climate | Low | Standard anodized aluminum or galvanized steel |
| High humidity / frequent rain | Moderate | Anodized aluminum; stainless steel fasteners |
| Coastal (within 5 miles of ocean) | High | Marine-grade anodized aluminum; stainless steel 316 fasteners; avoid steel |
| Industrial / pollution | High | Heavy anodizing or powder coating; regular inspection |
| Salted roads / de-icing zones | Moderate-High | Aluminum preferred; annual rinse of array |
Don’t overlook the fasteners. Even if your rails are corrosion-resistant, cheap steel bolts can rust and stain your roof or fail structurally. Stainless steel (304 or 316 grade) fasteners are the gold standard and should be specified in any quality installation.
When dissimilar metals are in contact in the presence of moisture, galvanic corrosion can occur. Quality mounting systems use isolating washers or gaskets between aluminum rails and steel fasteners to prevent this. Make sure your installer addresses this.
Action tip: If you live in a coastal or high-corrosion area, explicitly require marine-grade materials and stainless steel fasteners in your contract. The small premium is worth decades of corrosion-free performance.
The cheapest mounting system isn’t always the most affordable — and the most expensive isn’t always the best value. You need to look at total cost of ownership (TCO) over the system’s 25+ year lifespan.
For a residential system, racking typically accounts for 8–15% of total installed cost. While it’s tempting to save here, a $500–$1,000 savings on cheap racking can cost thousands in repairs or reduced production later.
Action tip: Compare quotes on a total installed cost basis, not just racking material cost. And ask about the warranty — a 25-year racking warranty from a reputable manufacturer provides peace of mind that cheap alternatives can’t match.
7. Warranty and Certifications
A mounting system is only as good as the warranty behind it — and the certifications that prove it meets industry standards.
Action tip: Before signing, request written warranty documentation and ask your installer to confirm UL 2703 certification for the racking system. If they can’t provide either, consider it a red flag.
Solar panels are a visible addition to your home or building. For many property owners, how the system looks matters — and the mounting system plays a big role in the overall appearance.
Action tip: If aesthetics are a priority, ask your installer for photos of completed installations using the same mounting system and roof type. Visual references are far more useful than product brochures.
The best mounting system in the world is only as good as the crew installing it. Complex systems require experienced installers, and even simple systems can fail if installed incorrectly.
Action tip: Ask your installer how many systems they’ve installed on roofs similar to yours, and request local references. A company that specializes in your roof type will do a better job than a generalist.
Your solar needs may change over time. A mounting system that’s easy to expand and maintain will serve you better in the long run.
The solar industry evolves quickly. Your mounting system should be compatible with:
Action tip: If you think you may expand your system later, tell your installer upfront. They can design the initial layout with extra rail capacity and electrical headroom, saving you significant cost when you’re ready to expand.
Use this checklist when evaluating mounting system options and comparing installer quotes:
| # | Factor | Questions to Ask |
|---|---|---|
| 1 | Roof compatibility | What mounting method is used for my roof type? Is it non-penetrating? |
| 2 | Structural capacity | Are engineered stamped drawings included? What wind/snow loads is it rated for? |
| 3 | Orientation/tilt | What tilt and orientation are proposed? What’s the estimated production? |
| 4 | Material | Aluminum or steel? What specific alloy/grade? What about fasteners? |
| 5 | Corrosion | Is it suitable for my climate? Are stainless steel fasteners included? |
| 6 | Cost | What’s the total installed cost? What’s the warranty duration? |
| 7 | Warranty/certs | How long is the warranty? Is it transferable? Is it UL 2703 certified? |
| 8 | Aesthetics | What does it look like? Can I see photos of similar installations? |
| 9 | Installation | How many similar roofs have you installed? Can I speak with references? |
| 10 | Future-proofing | Can I add panels later? Are components standardized? |
Choosing the right solar panel mounting system is a decision that impacts your installation’s performance, safety, and longevity for 25+ years. While panels and inverters tend to get the spotlight, the mounting system is the foundation that makes everything else work.
The key is to look beyond the price tag and evaluate each system on its merits: Is it compatible with your roof? Engineered for your climate? Backed by a solid warranty? Installed by experienced professionals? Designed for future flexibility?
A quality mounting system may cost slightly more upfront, but it pays for itself through decades of reliable performance, minimal maintenance, and maximum energy production. Conversely, cutting corners on racking is one of the most expensive mistakes you can make in a solar project.
By working through the factors in this guide and asking the right questions of your installer, you’ll be well-equipped to choose a mounting system that protects your investment and maximizes your solar savings for years to come.